This entry guides you through the steps on how to add a new I18N and use this configuration in the Form module as an example. Do take note that this entry uses the following html form design as an example.
Create Form
- Under the Form module, create a new form and add the html component inside
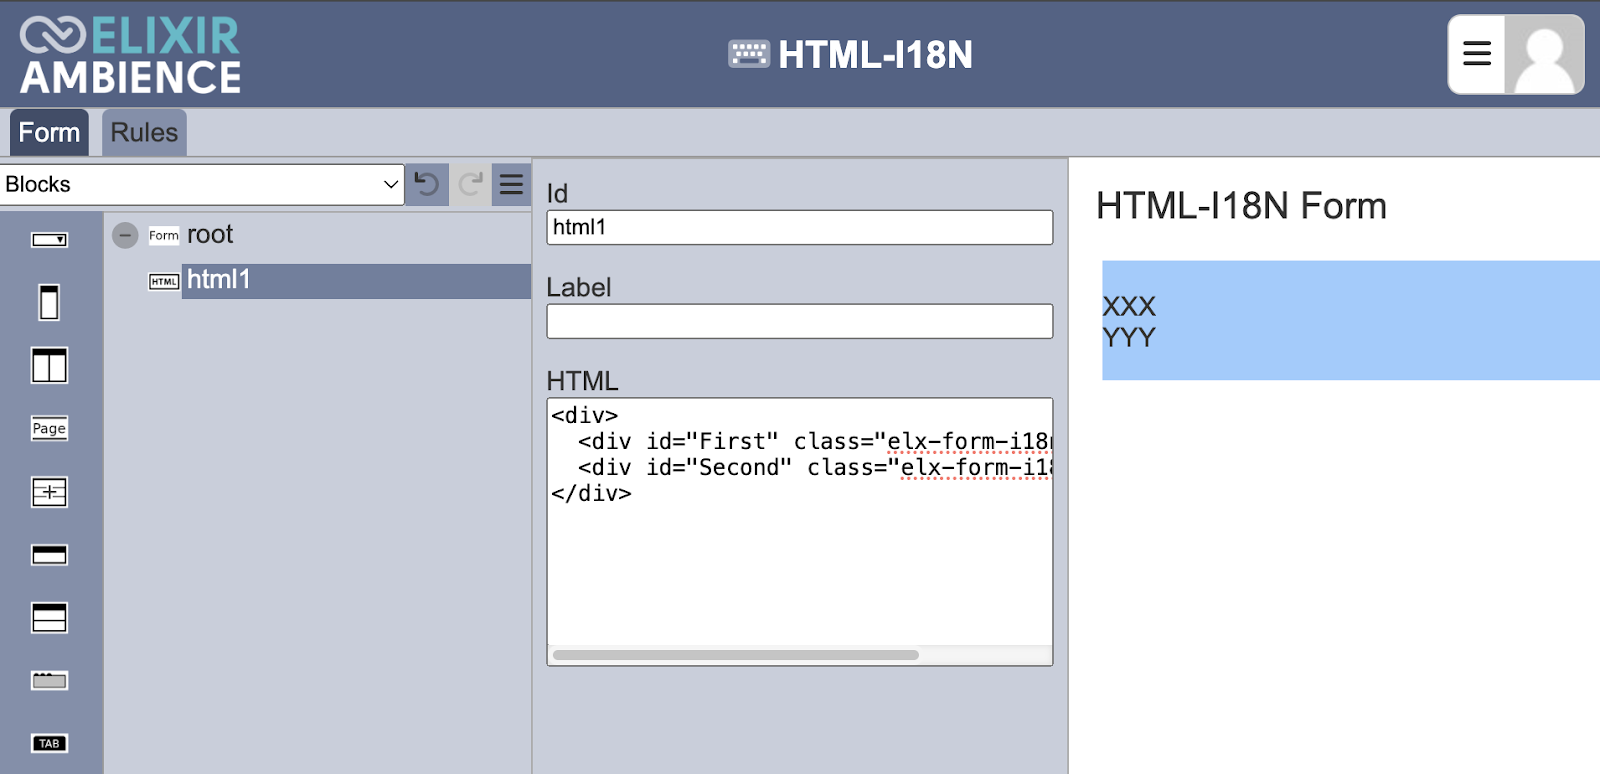
HTML Contents as such:
<div>
  <div id="First" class="elx-form-i18n">XXX</div>
  <div id="Second" class="elx-form-i18n">YYY</div>
</div>
Create Translation
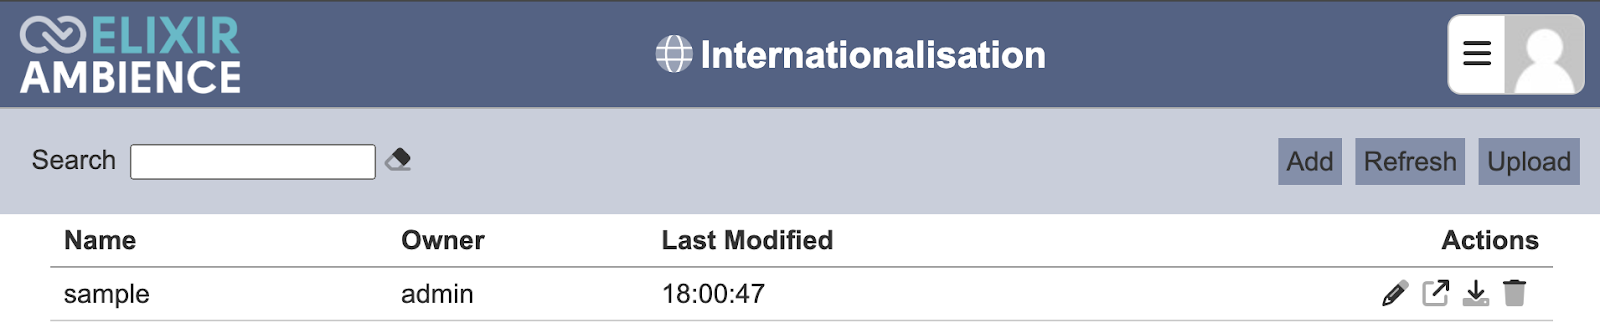
- In the internationalisation module, add a new I18N and give it a name. (for e.g. sample)
-
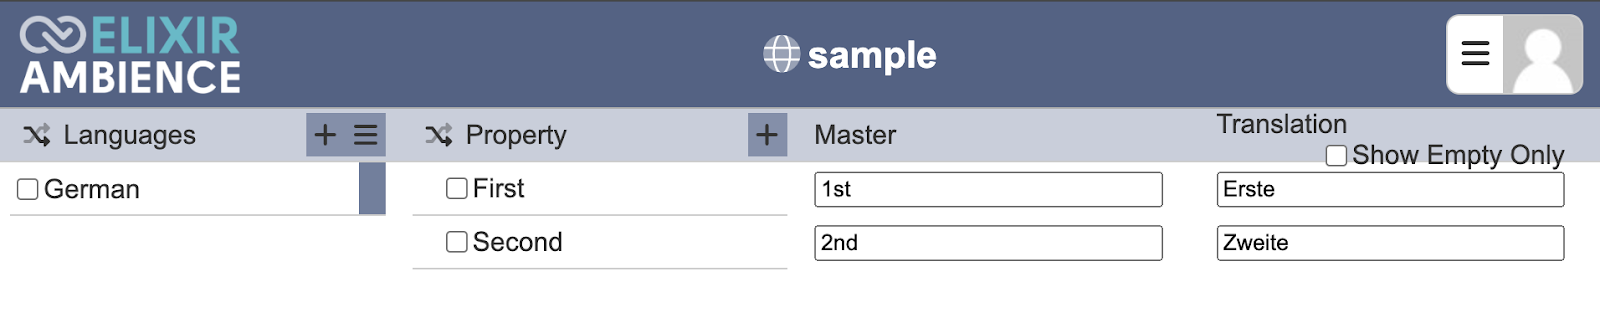
Next, under Languages click “Add Languages” and select the desired language. In this example, we are using the German Language.
-
Under Property, add 2 properties. Do take note that the field IDs in your form as well as the property name used must be the same. (i.e. “First” and “Second”)
-
Under Master, enter the default text value to be displayed for each property.
-
Under Translation, enter the translation for the text value defined in Step 4. Do take note that if the translation panel is empty, text as configured in the Master panel will be displayed instead.
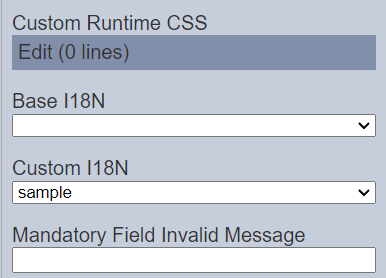
- Next, navigate to the form and select the root component. Scroll to the “Custom I18N” field and select the translation created earlier if you only need this form to be translated. Else you may choose the “Base I18N” field to allow the base setting to be applied to many forms.
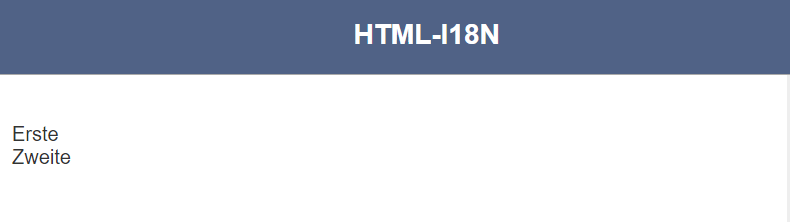
- Run the form. The form’s text will show in English by default because the browser is set to that language. Rerun the form again after changing the browser’s language to German.
Attached zip file is the JSON sample file used for this exercise.
sample I18N.zip (1.0 KB)