Overview
This entry outlines the steps to configure dynamic file naming in an Ambience job using the FileLoop, Script, and RenderReport attributes. The configuration enables automated processing of RML files within the job, applies timestamp‑based naming through JavaScript, and generates uniquely named output reports in the desired format and location.
1. Access Ambience Server and Designer
Ensure that both the Ambience 4 Server and Ambience Designer are running. Log in to the Ambience Server for both applications.
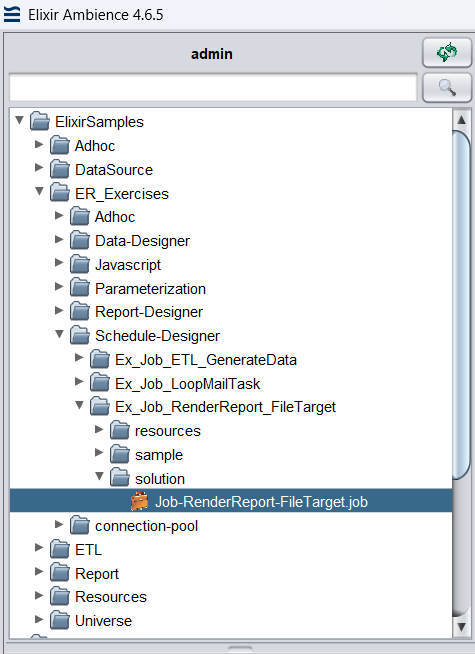
2. Open the Job in Ambience Designer
Navigate to your .job file in the right-hand user panel within Ambience Designer and double-click the .job file to open the design panel.
3. Add The FileLoop Attribute
On the design panel, right click on the job and add the FileLoop attribute.

Configure the FileLoop attribute:
- Set the folder or specific RML file you want to render.
- Ensure the Parameter Name is set to
FileName. - Set the file criteria extension to
.rml

4. Add The Script Attribute
Right‑click the job in the design panel and add the Script attribute.

In the JavaScript editor, insert the following code snippet to dynamically generate file names based on the current date:
mydate= new Date()
theyear = mydate.getFullYear()
themonth = mydate.getMonth() + 1
thetoday = mydate.getDate()
year = theyear.toString();
month = themonth.toString() ;
today = thetoday.toString();
var todaydate = today + "-" + month + "-" + year;

// To retain directory structure
//newFileName = FileName.replace(/.rml/g, " " + todaydate + ".pdf");
// To flatten directory structure
newFileName = FileName.replace(/.*\/(.*).rml/g,"$1 " + todaydate + ".pdf");
The above script will dynamically generate file names with the format “FileName DD-MM-YYYY.pdf”. You can customize this structure further if needed.
5. Add The RenderReport Attribute
Right‑click the job in the design panel and add the RenderReport attribute.

In the Report section:
Specify the report you want to render.

In the Target section:

- Set the MIME type of your choice (e.g., PDF, Excel).
- Set the File Name to
${=newFileName}so the dynamically generated name from your script is applied. - Define the output location where the rendered file should be saved.
![]() Note
Note
Using ${=newFileName} ensures that each output file inherits the timestamp‑based naming convention you defined in the Script attribute.
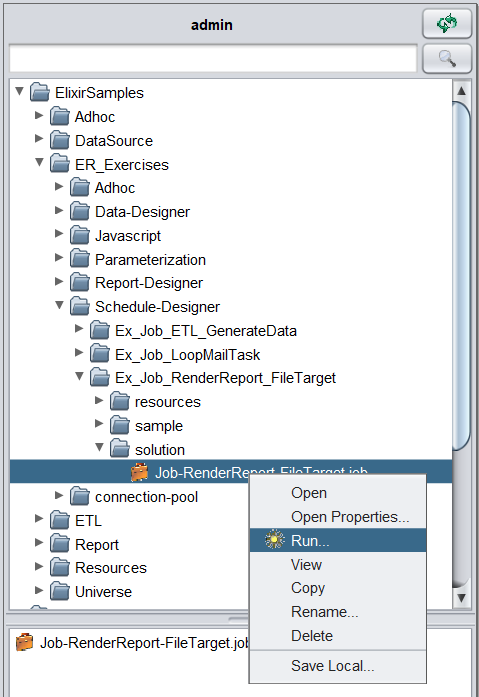
6. Test the Configuration:
Return to the user panel and locate your .job file. Right-click the .job file and select Run.
7. Verify Output
Check the Ambience server logs for the latest render and and click Open to view the log details.

In the Result section, you should see the path to the rendered file with the dynamically assigned name.

Attachments
Job-RenderReport-FileTarget.zip (878 Bytes)