Overview
This guide explains how to configure a Composite Datasource in Ambience Designer to filter and display .rml files from a specified directory.
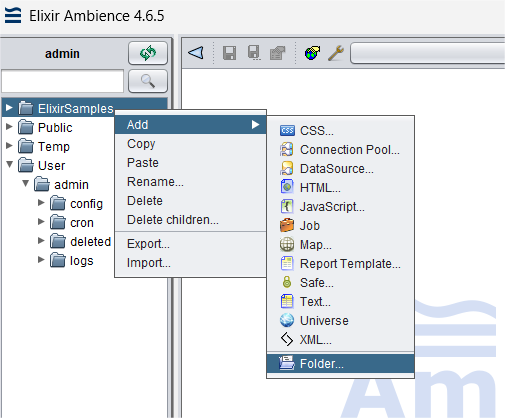
Step 1: Create a New Folder
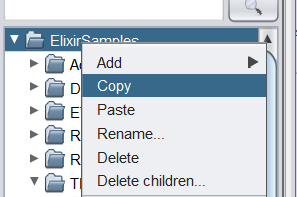
Open Ambience Designer and navigate to your desired directory. Right-click to create a new folder. This folder will store your File System Datasource.
Step 2: Create a New File System Datasource
-
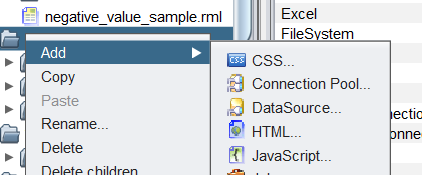
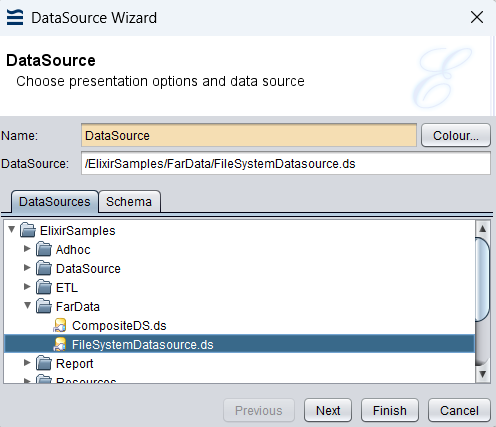
In the newly created folder, right-click and select Add > DataSource.
-
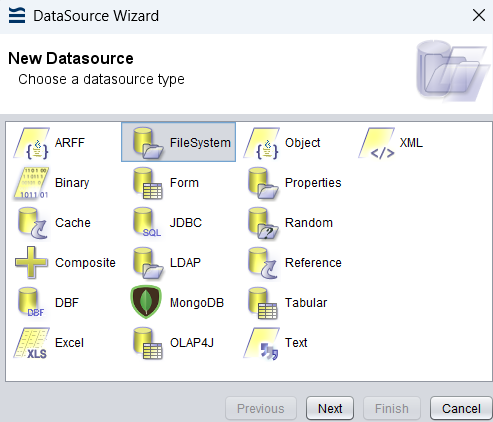
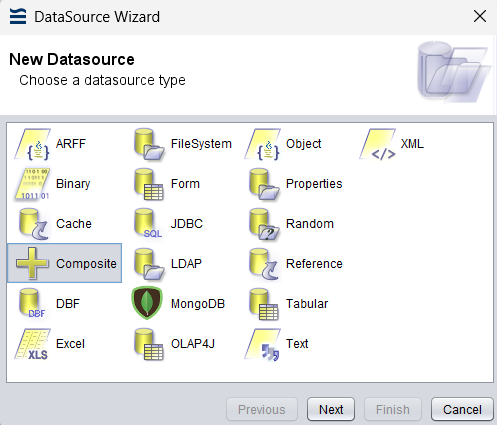
Choose FileSystem and click Next.
-
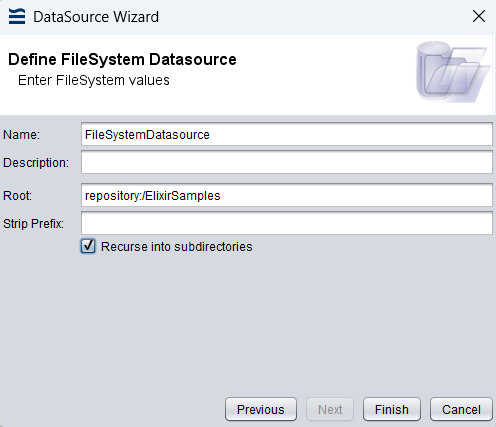
Specify the root directory where your folders and subfolders are located.
Tip: Right-click the root directory and select Copy to quickly obtain the full path.
-
Ensure the Recurse into subdirectories option is enabled to include files from all nested directories.
Step 3: Create a New Composite Datasource
Once the File System Datasource is set up, create a Composite Datasource under the same folder.
Step 4: Configure the Composite Datasource
-
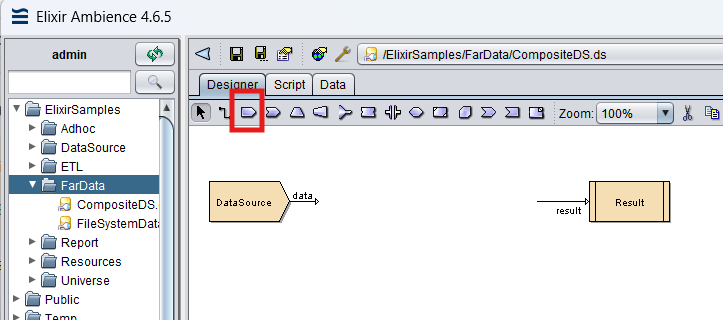
Open the Composite Datasource in the designer.
-
Drag a Datasource component from the palette into the design area.
-
Double-click the Datasource component and select the File System Datasource created earlier.
Step 5: Filter the Datasources
-
Add a Filter component into the design area.
-
Use the Flow tool to connect:
Datasource → Filter → Result -
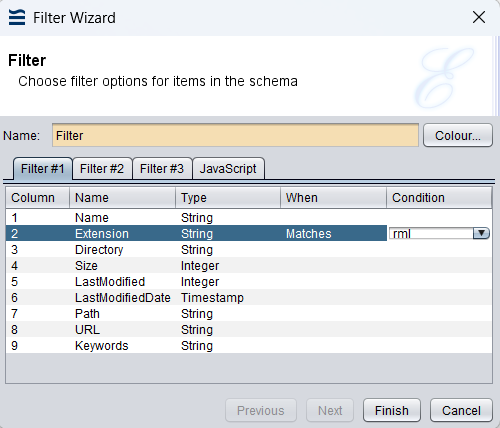
Double-click the Filter component.

-
In the configuration panel, locate the Extension row.
-
Set When to Matches and Condition to
rml.
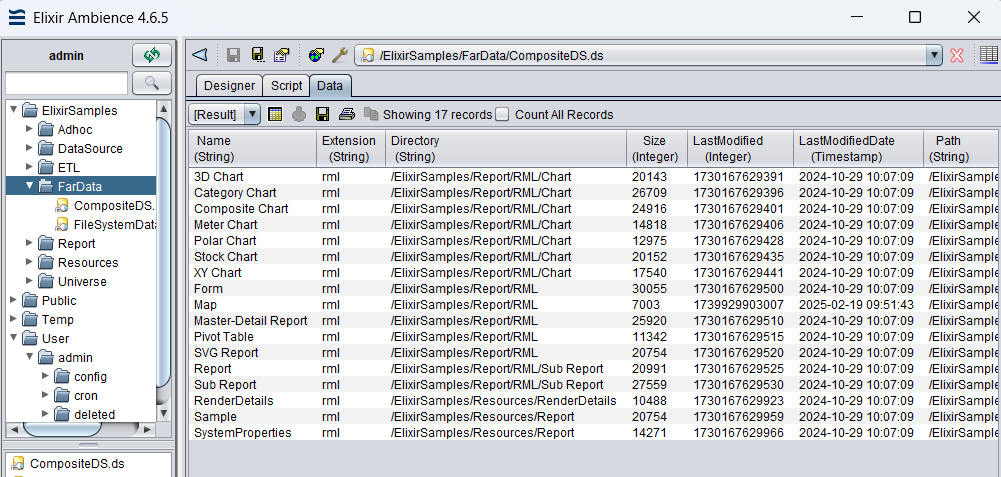
Step 6: View the Results
Right-click the Result component and select View. A list of all .rml files under the specified root directory will be displayed.