Overview
This guide outlines how to configure an image element to render PNG images from byte array data. These settings and script snippets help ensure images stored as raw byte strings can be correctly displayed in reports.
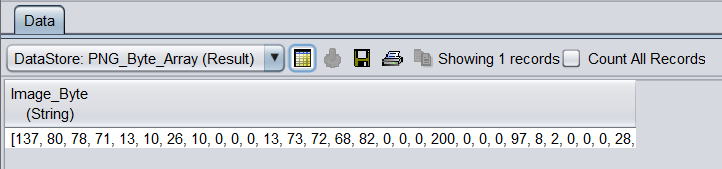
Step 1: Prepare The Datasource
Ensure your datasource contains a field (e.g., Image_Byte) that holds the image data in byte array format. This field will be used to reconstruct the image during report rendering.
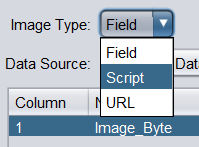
Step 2: Configure The Image Element
-
Insert an Image element into your report layout.

-
In the Properties panel, set Image Type to Script.
Step 3: Add The Script Snippet
In the script box, paste the following code:
var rawString = Image_Byte;
var img = null;

if (rawString != null && rawString.length > 10) {
    try {
        var clean = rawString.toString()
            .replace(/\[/g, "")
            .replace(/\]/g, "");

        var parts = clean.split(",");

        var bytes = java.lang.reflect.Array.newInstance(java.lang.Byte.TYPE, parts.length);

        for (var i = 0; i < parts.length; i++) {
            var n = parseInt(parts[i].trim());

            if (n > 127) {
                n = n - 256;
            }

            bytes[i] = n;
        }

        var bais = new java.io.ByteArrayInputStream(bytes);

        img = javax.imageio.ImageIO.read(bais);

        bais.close();

    } catch (e) {
        img = null;
    }
}

img;
What The Script Does?
- Input Handling: Reads the
Image_Bytefield containing raw byte array data. - Cleaning: Removes square brackets and splits the string into individual byte values.
- Conversion: Converts each string value into a signed byte, ensuring values above 127 are adjusted.
- Reconstruction: Creates a
ByteArrayInputStreamand usesImageIO.read()to rebuild the image. - Error Handling: If parsing fails, the script safely returns
nullinstead of breaking the report.
This script reconstructs PNG thumbnails from raw byte array data and renders them seamlessly within the report output.
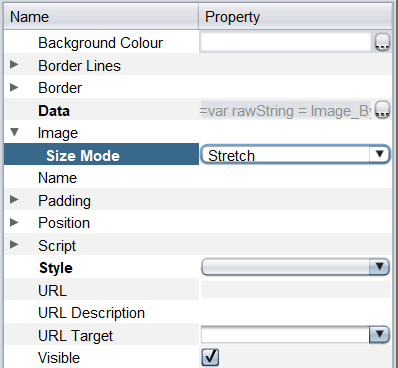
Step 4: Adjust Image Properties
-
Select the image element in your report layout.
-
In the Properties panel, configure the Size Mode to Stretch.
Step 5: Save & Verify
- Save the report design.
- Render the report in preferred format.
- Verify that the PNG image renders correctly in the report output.
Attachments
- Datasource Sample
- RML Template
PNG_Byte_Array.zip (16.4 KB)